
Bathroom layout design is the process of arranging fixtures and clearances to create a functional, safe, and code-compliant space. Professionals call this discipline “bathroom space planning,” and it governs everything from where your toilet sits to how wide your shower door swings. The International Residential Code sets absolute minimums, while the National Kitchen and Bath Association (NKBA) publishes recommended clearances that go further for real comfort. Getting these numbers right before you buy a single tile is the difference between a bathroom that works and one that frustrates you every morning.
Bathroom layout design starts with two non-negotiable layers: building code compliance and user comfort. The IRC requires a 15-inch toilet centerline from any side wall or obstruction, plus 21 inches of clear floor space in front of every fixture. Those are the legal minimums. They are not the comfort targets.
The NKBA recommends 18 inches of side clearance from the toilet centerline and 30 inches of clear floor space in front. That extra room is what separates a bathroom you tolerate from one you actually enjoy. Effective bathroom layout design also accounts for door swing, traffic flow between fixtures, and the placement of wet zones (shower, tub) versus dry zones (vanity, linen storage).
Universal design principles add a third layer. Features like comfort-height toilets, curbless showers, and blocking in walls for future grab bars make a bathroom work for every stage of life. Planning for these elements during the initial layout costs almost nothing. Adding them after the tile is set costs significantly more.
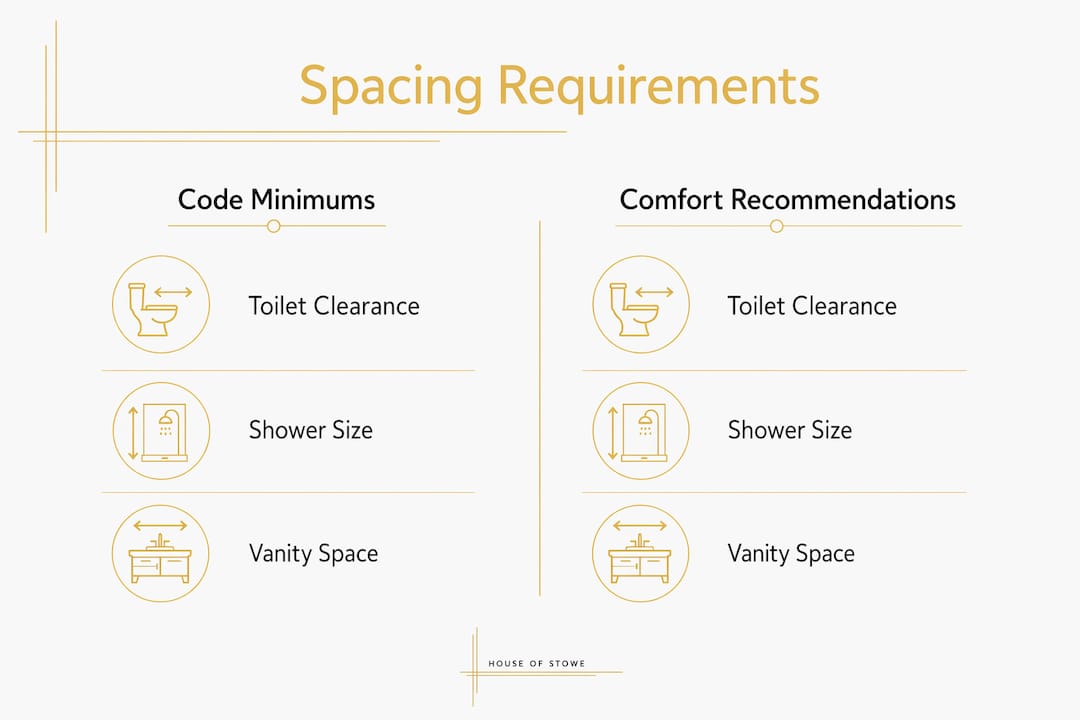
Spacing requirements fall into two categories: code minimums and comfort recommendations. Knowing both lets you make informed trade-offs when your floor plan is tight.
| Fixture | IRC Code Minimum | NKBA Recommended |
|---|---|---|
| Toilet centerline to side wall | 15 inches | 18 inches |
| Clear floor space in front of toilet | 21 inches | 30 inches |
| Shower interior (minimum) | 30 x 30 inches | 36 x 48 inches |
| Clear floor space in front of vanity | 21 inches | 30 inches |
| Door width | 32 inches | 36 inches |
The IRC minimums represent the legal floor, not the design goal. A 36 x 48-inch shower gives you room to turn around and rinse without pressing your elbows against the walls. A 30 x 30-inch shower passes inspection but feels like a phone booth.
One measurement mistake causes more inspection failures than any other: measuring from framing instead of finished surfaces. Finished tile and wainscoting reduce your clearances by a half-inch to an inch on each side. That adds up fast in a 5-foot-wide bathroom. Always measure from the finished wall surface, not the stud.
Vanity clearance deserves special attention. Vanity drawers extend further than cabinet doors, so a 21-inch code minimum may leave you unable to open your drawers fully if the toilet is directly adjacent. Plan for 30 inches in front of the vanity whenever the floor plan allows.
Pro Tip: Tape out your fixture footprints on the subfloor before ordering anything. Walk through the space, open imaginary doors, and stand at each fixture. You will catch conflicts that no floor plan drawing reveals.
Strategic fixture placement turns a code-compliant bathroom into one that genuinely works for daily life. The most effective layouts follow a few consistent principles.
Traffic flow matters as much as individual fixture clearances. The path from the door to the toilet, from the toilet to the vanity, and from the vanity to the shower should never require squeezing past an open door or stepping over a threshold. Sketch that path on your floor plan and walk it mentally before finalizing any layout.
Pro Tip: If you are working with a 5 x 8-foot bathroom, place the door on the short wall. This keeps the entire long wall available for fixtures and prevents the door from eating into your clearance zones.

Universal design is defined as creating spaces that work for all ages and abilities without looking clinical or institutional. A well-executed universal bathroom looks like any modern bathroom. The accessibility features are built in, not bolted on.
Key universal design elements to plan for during layout:
Designing for future accessibility removes the stigma associated with clinical aids. Modern grab bars come in brushed nickel, matte black, and polished chrome finishes that match any fixture set. There is no visual trade-off. The only question is whether you plan for them now or pay to retrofit them later.
Room dimensions set hard limits on what layouts are possible. Understanding the standard size categories helps you match your ambitions to your square footage.
| Bathroom Type | Typical Size | Common Features |
|---|---|---|
| Powder room | 18–20 sq ft | Toilet and single sink only |
| Three-quarter bath | 35–40 sq ft | Toilet, sink, and shower (no tub) |
| Full bathroom | 40–50 sq ft | Toilet, sink, tub, and shower |
| Primary bathroom | 80–120 sq ft | Double vanity, walk-in shower, soaking tub |
Older homes often have 5 x 8-foot bathrooms totaling 40 square feet. That footprint fits a full bathroom, but only if every fixture is sized correctly and clearances are respected. Squeezing a 60-inch double vanity into a 60-inch wall leaves zero clearance on either side. A 48-inch single vanity with proper side clearances feels more spacious and functions better.
The trade-off between fixture size and clearance is one of the most counterintuitive lessons in bathroom space planning. Choosing a smaller vanity or a narrower toilet often produces a bathroom that feels larger and works better than one packed with oversized fixtures. For fixture budget planning, prioritize clearance first and fixture size second.
Large primary bathrooms introduce a different challenge: zoning. Separating the toilet into its own compartment, creating a wet zone for the shower and tub, and keeping the vanity in a dry zone all improve privacy and usability. Each zone requires its own clearance planning, and each additional plumbing wall adds cost. Work with your layout to consolidate plumbing wherever possible without sacrificing the zoning benefits.
Effective bathroom layout design requires meeting IRC code minimums, exceeding them with NKBA comfort clearances, and planning for universal design from the start.
| Point | Details |
|---|---|
| Code minimums are the floor, not the goal | IRC requires 15-inch toilet centerline and 21-inch front clearance; NKBA recommends 18 and 30 inches. |
| Measure from finished surfaces | Tile and wainscoting reduce clearances; always measure from the finished wall, not the stud. |
| Wet wall consolidation saves money | Keeping fixtures on one or two walls reduces rough plumbing costs by $500 to $2,000 per additional wall. |
| Plan universal design features now | Blocking for grab bars and curbless showers cost little during a remodel but are expensive to retrofit. |
| Clearance beats fixture size | A smaller vanity with proper clearance produces a more functional bathroom than an oversized one without it. |
After working on bathroom remodels across dozens of projects, the single most common mistake I see is homeowners finalizing fixture orders before they have stood in the space. A floor plan drawing is a useful tool. It is not a substitute for physically experiencing the clearances.
I have seen a 36-inch vanity look perfectly reasonable on paper and feel cramped the moment you stand in front of it with the door open. I have seen a toilet positioned 16 inches from the centerline to the wall pass a code check and still feel like you are sitting sideways. The numbers matter, but your body in the space is the final test.
My honest advice: tape out every fixture on the subfloor before you commit. Use painter’s tape to mark the toilet footprint, the vanity depth, the shower door swing, and the door arc. Walk through it. Sit down at the toilet height. Reach for an imaginary showerhead. You will find the conflicts that no drawing catches.
The other thing I push hard on is future-proofing. Homeowners in their 30s and 40s often skip grab bar blocking because they do not think they need it. The blocking costs almost nothing during a remodel. The wall surgery to add it later costs real money. A bathroom fixture coordination guide can help you think through these decisions systematically before the drywall goes up.
Plan for the bathroom you will need at 70, not just the one you want at 40. Your future self will thank you.
— Anna
Knowing the principles is one thing. Applying them to your specific floor plan, fixture preferences, and budget is where most homeowners benefit from professional support.

The Kitchen, Bathroom & Flooring Store handles bathroom remodels from initial layout planning through final installation, with no need to coordinate separate contractors. Our team helps you apply IRC code requirements and NKBA comfort clearances to your actual space, select fixtures that fit your dimensions, and choose tile and stone flooring that works with your layout. We also offer shower and tub installation as part of a complete remodeling package. See our full bathroom remodeling packages to find the right fit for your project.
The IRC requires a 15-inch clearance from the toilet centerline to any side wall or obstruction, plus 21 inches of clear floor space in front. The NKBA recommends 18 inches side clearance and 30 inches in front for comfortable use.
Always measure from finished surfaces, not framing. Tile, wainscoting, and vanity panels reduce your clearances after installation, and measuring from the stud is a common cause of inspection failures.
The IRC minimum is 30 x 30 inches, but a 36 x 36-inch shower is the practical comfort minimum. A 36 x 48-inch shower is the preferred size for daily usability and ease of movement.
Universal design means creating a bathroom that works for all ages and abilities without a clinical appearance. Key features include comfort-height toilets, curbless showers, and structural blocking for future grab bars.
Each additional plumbing wall adds $500 to $2,000 or more in rough plumbing costs. Keeping fixtures consolidated on one or two walls is one of the most effective ways to control remodeling expenses.